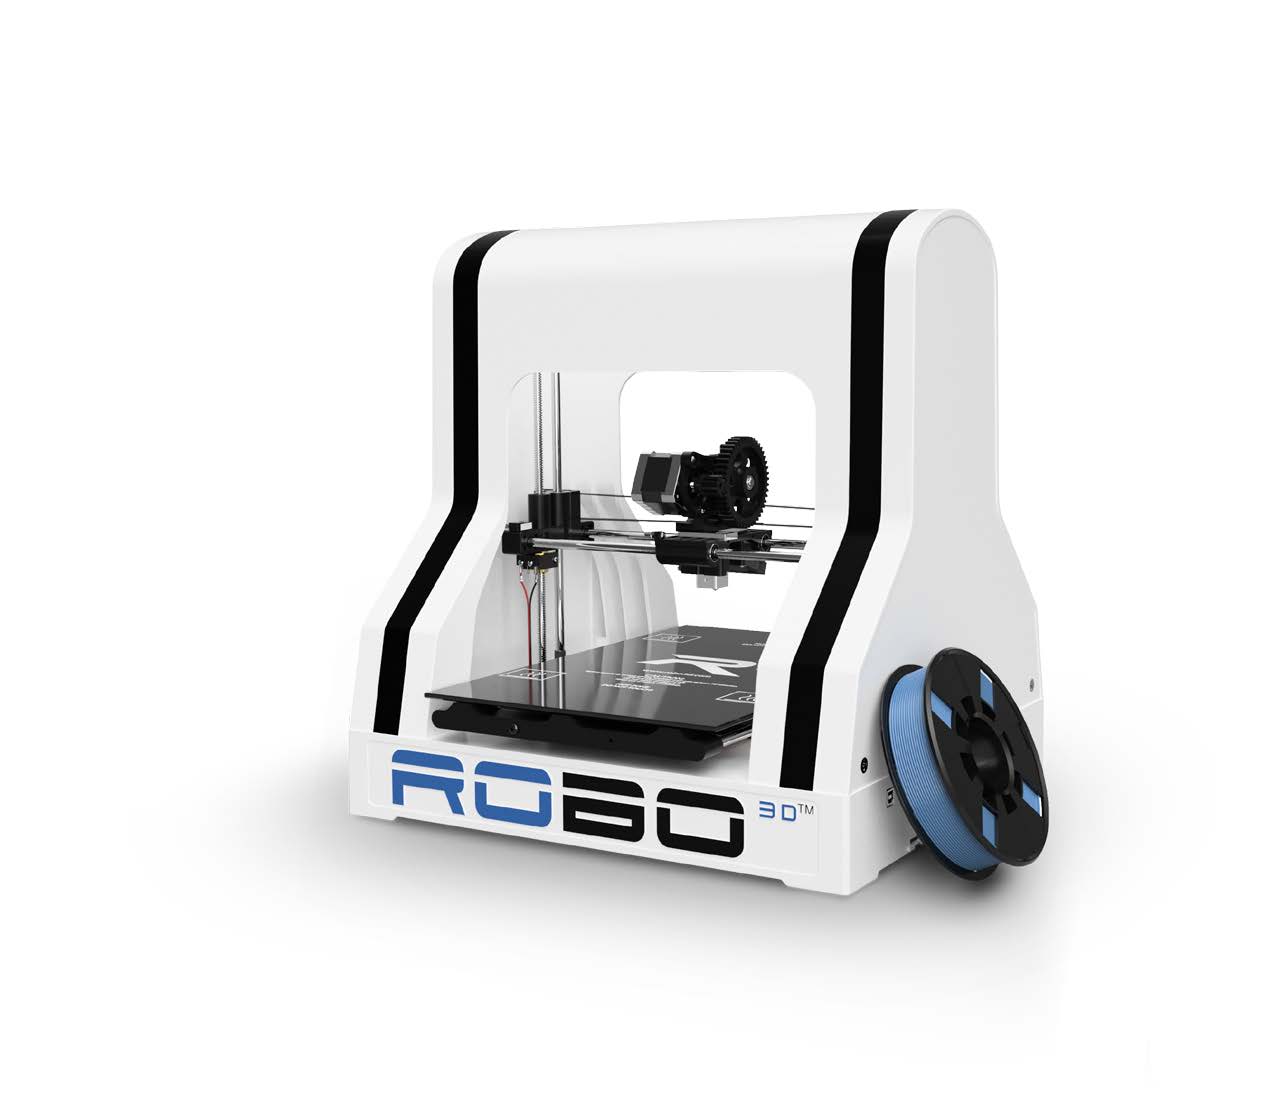
Operation
Controls
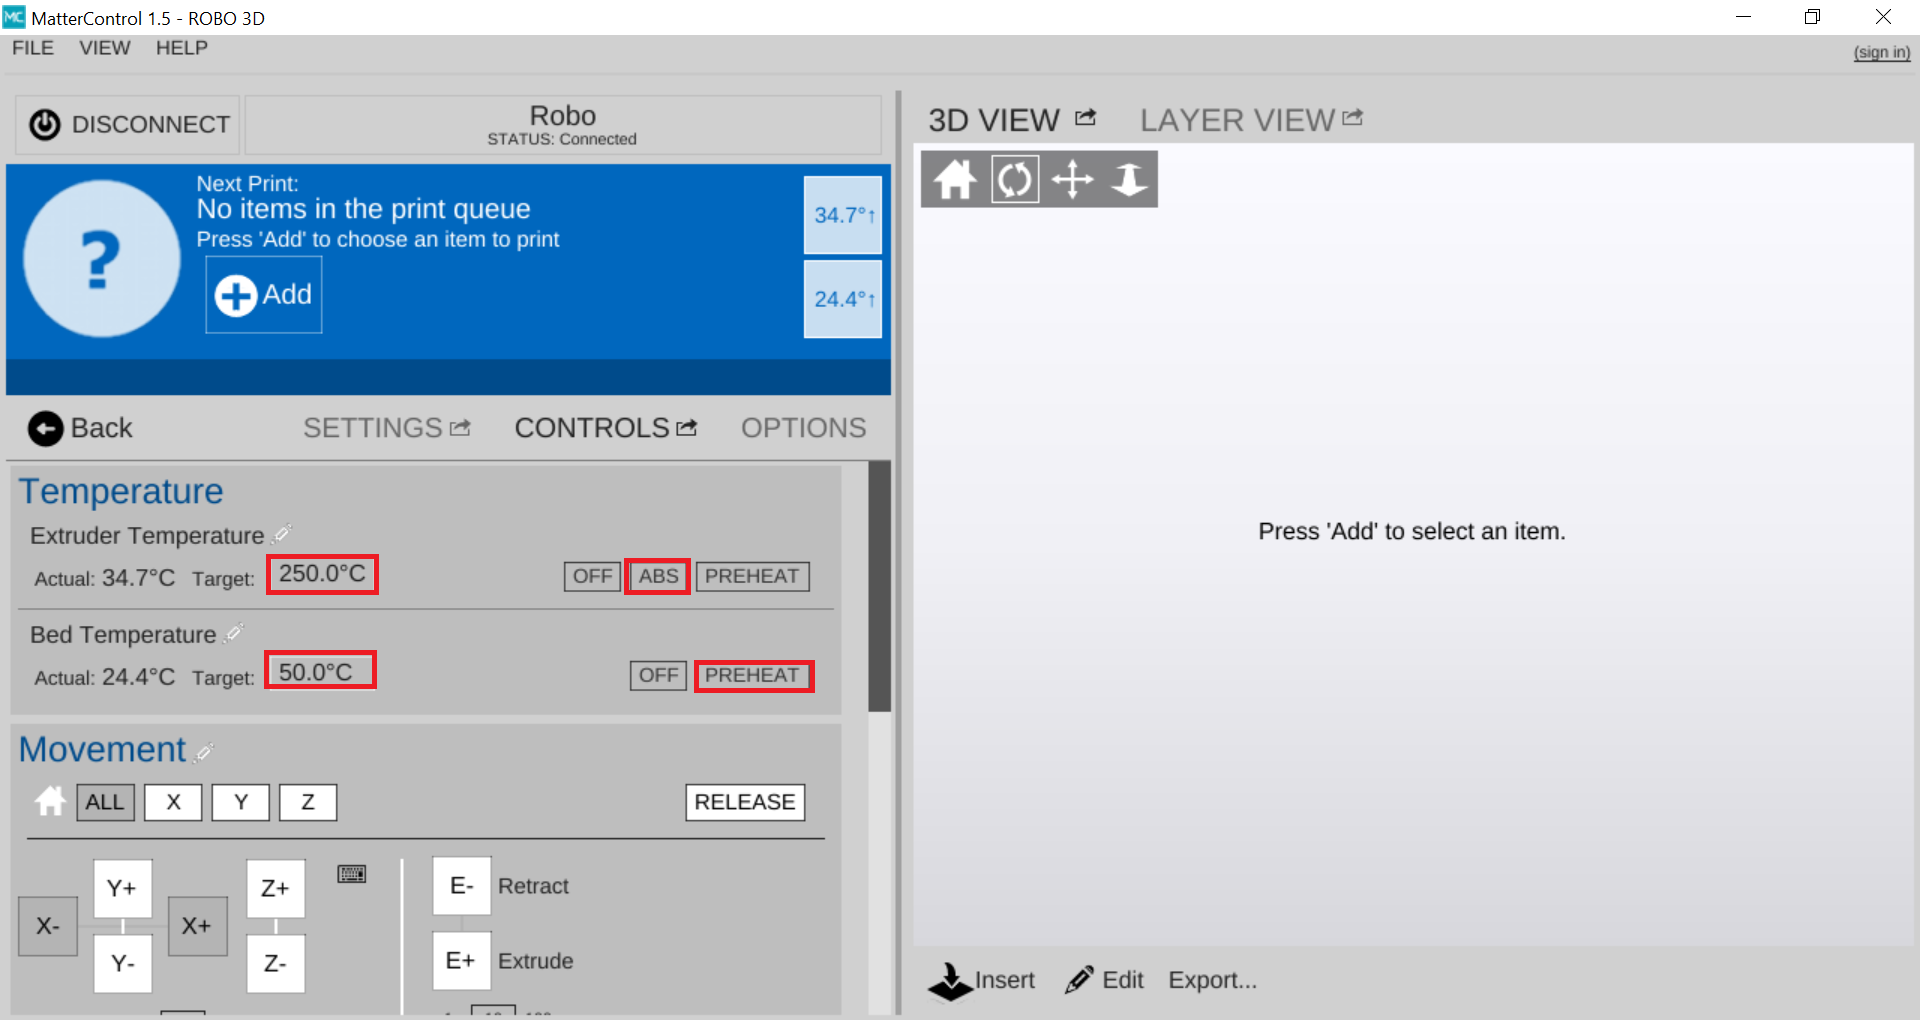
The CONTROLS tab is where you can physically control your printer through the software. Here you can preheat your extruder and heated bed, and even adjust your print speed while printing.
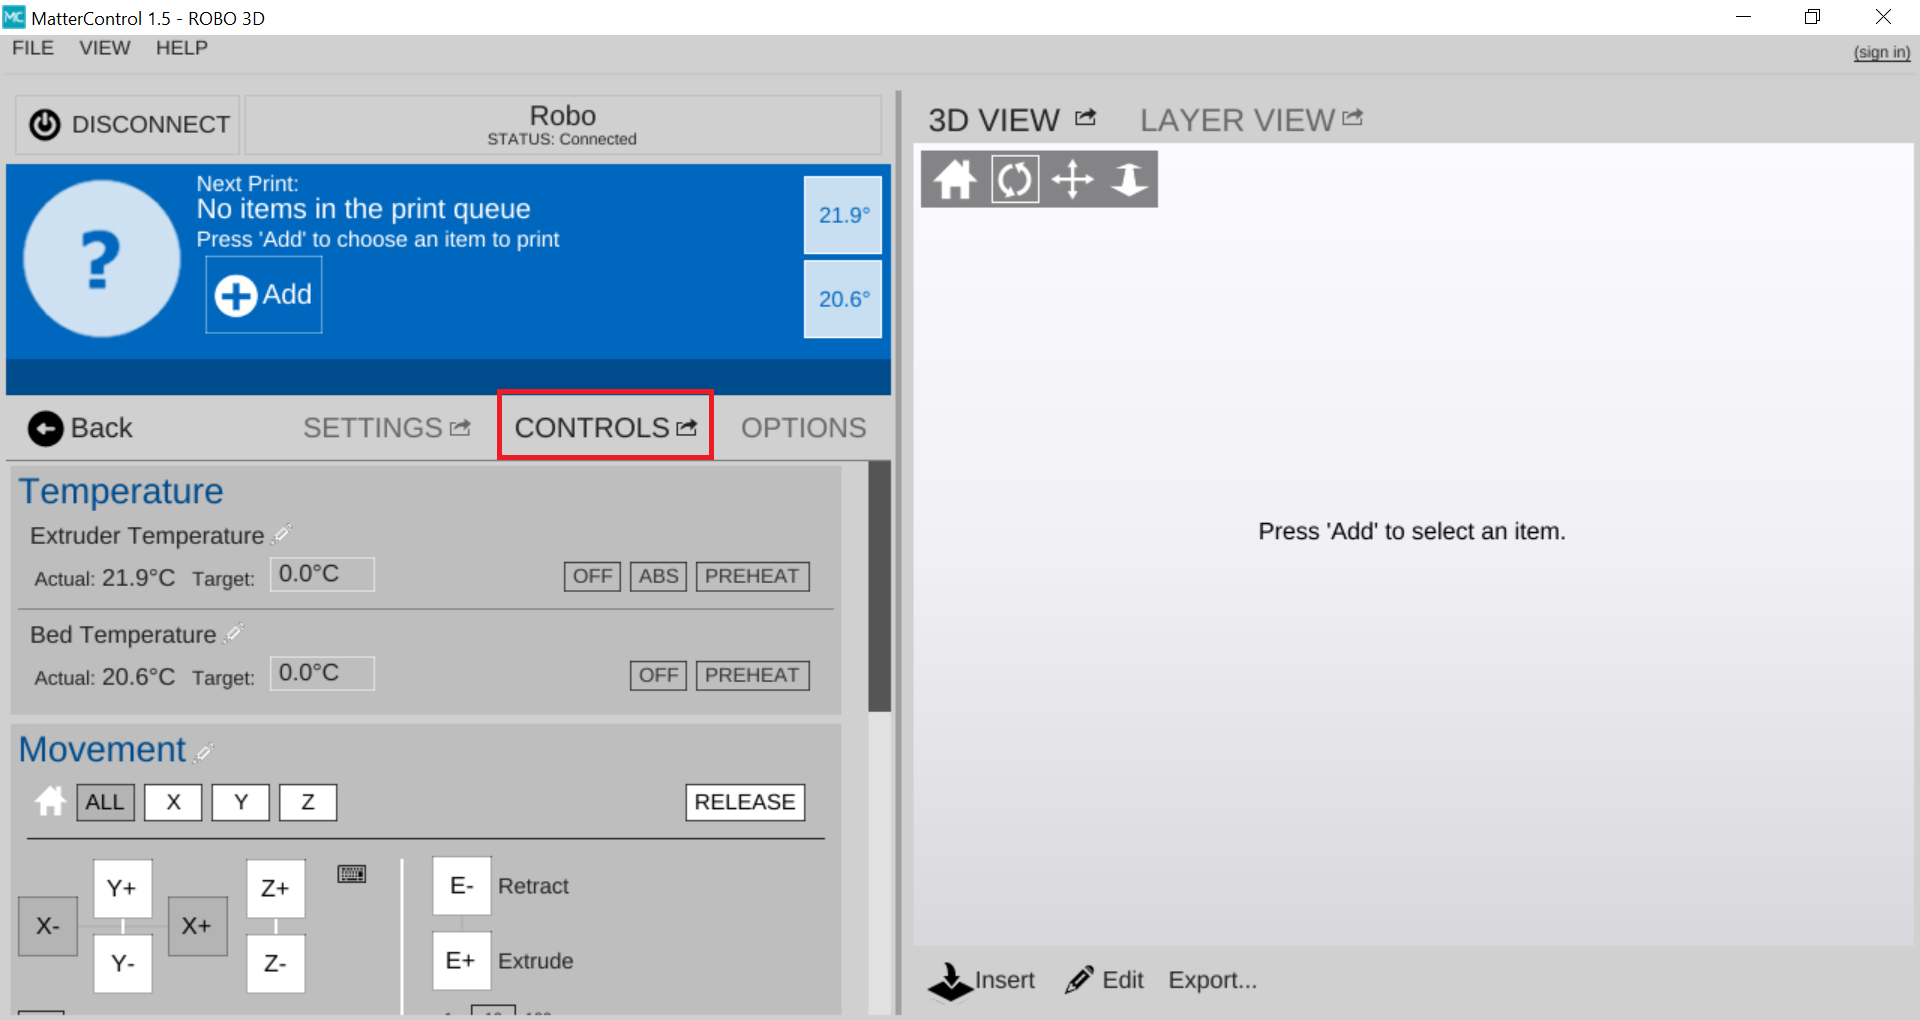
Adjusting Temperatures
You can either click the PREHEAT button to preheat the print to a default temperature of 210C, or create your own presets by clicking the pencil next to Extruder Temperature.
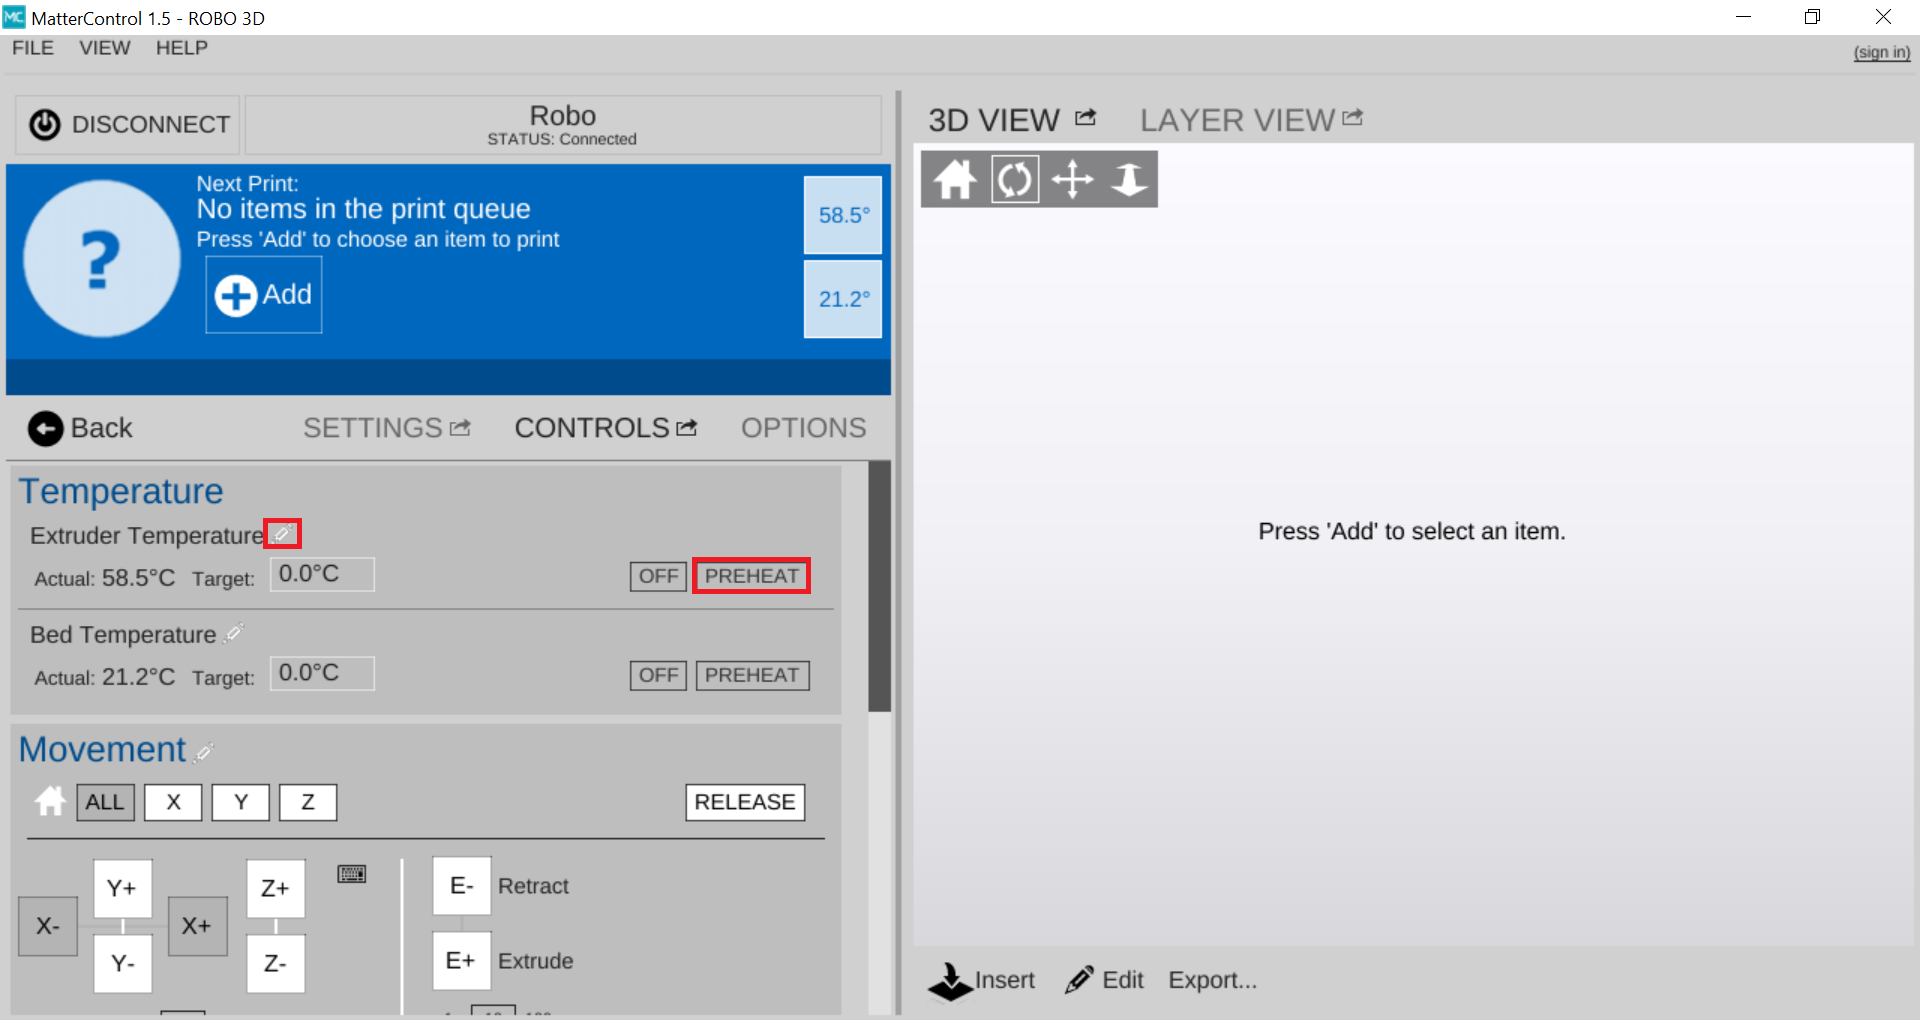
If you choose to create your own preset, a new Window will popup after clicking the pencil. In this window you can set up to 3 custom presets. Once you name the preset and designate a temperature press Save.
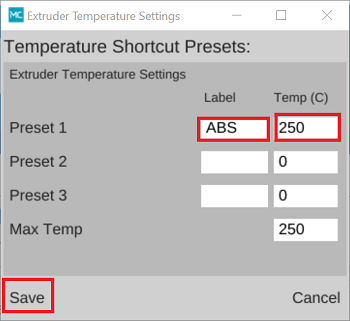
After you click PREHEAT or one of your own presets, you should see the target temperature change to your desired temperature.
Note
You can also preheat and create presets for the bed as well.
Note
An extruder preheat should be set between 230-250C for ABS filament or 190-210C for PLA filament. A bed preheat should be set between 80-100C for ABS and 50-70C for PLA filament.
Movement Controls
While your printer is idle, you can use the movement controls on this panel to move the X, Y and Z axes. The extrude/retract motor movement keys help in loading and unloading filament as well. You can unlock the motors after a print job in order to move them around by hand if need be. Also, if you need to home any or all of your axes you can do it here as well.
Speed and Extrusion Control
If you need to adjust the speed at which your extruder is printing, under Tuning Adjustment, use the “Speed Multiplier” slider at the bottom of the screen. If you want to adjust the rate at which your printer is extruding filament use “Extrusion Multiplying.” Slide it left to slow it down and right to increase the speed or flow rate. (This will only work while printing.)
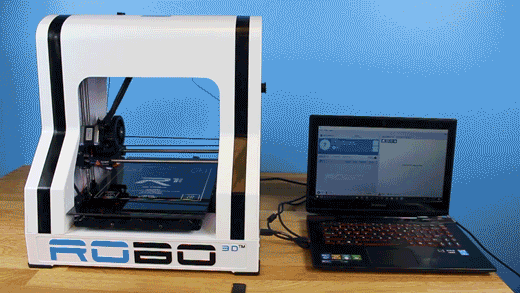
Loading files on MatterControl
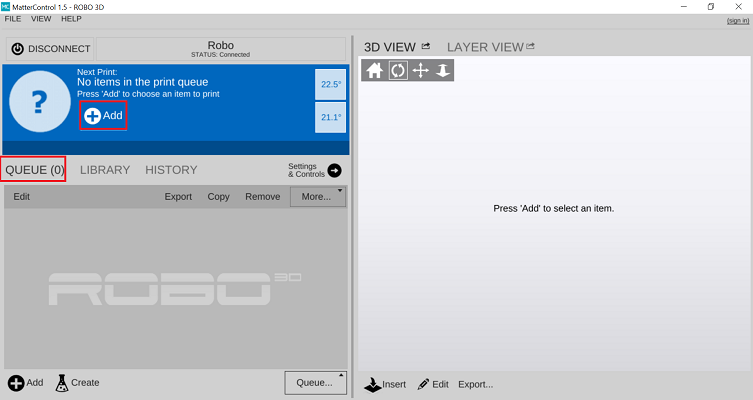
Open up MatterControl and connect to your printer. Within the ‘Queue’, select the ‘Add’ button just above or on the bottom left corner.
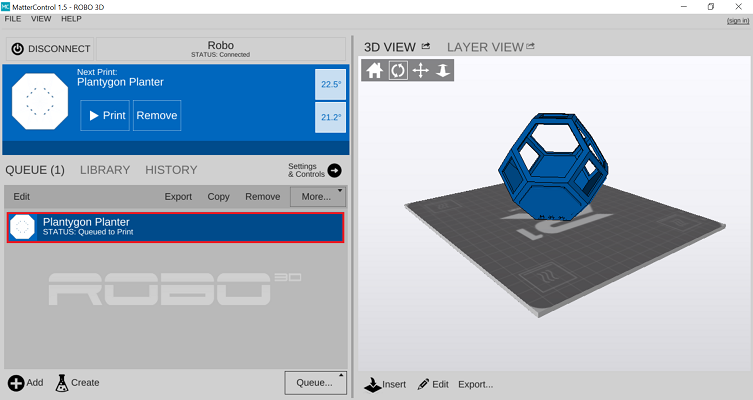
Add your file to the queue. When it shows up in the queue, select the file that you uploaded by clicking on it. When it is selected it will show up in the preview panel.
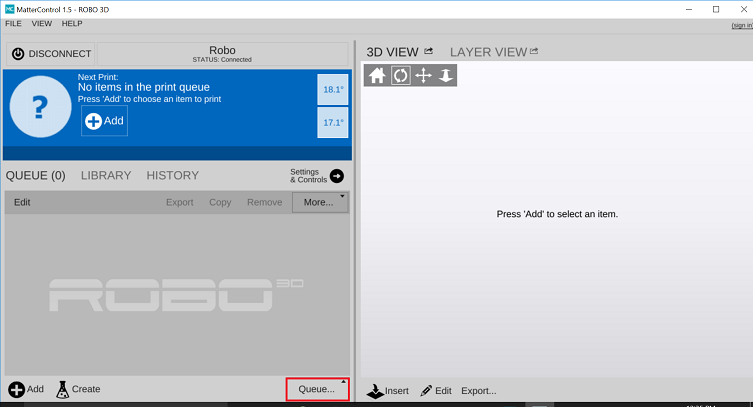
If you don’t want to keep your computer connected to your printer for the duration of the print, you can also start a print straight from the SD Card!
After loading files onto the SD Card from your computer, insert it into the printer.
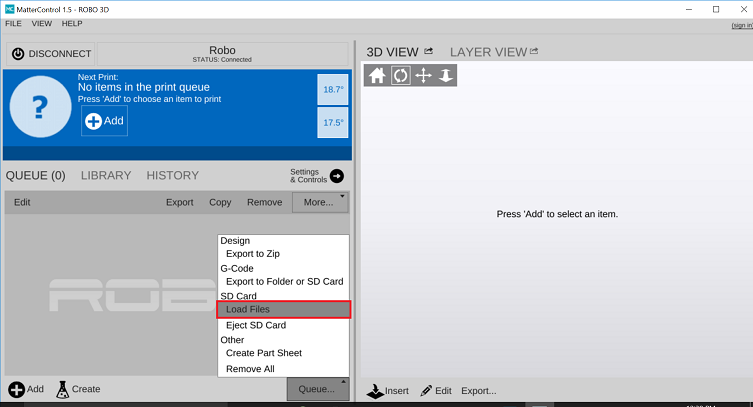
First click QUEUE at the bottom right of the dashboard.
Then select Load Files under SD CARD
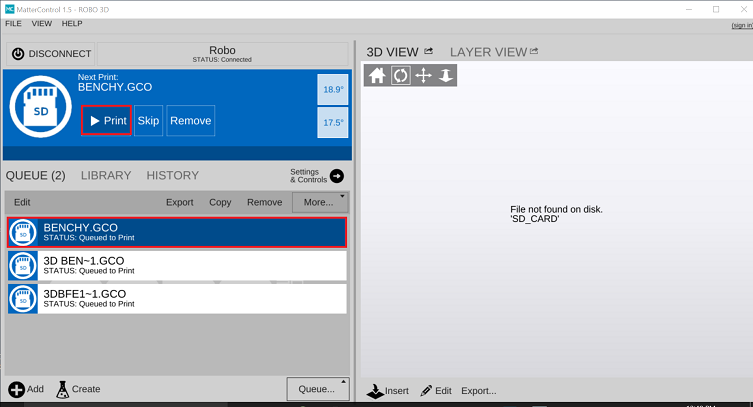
Now your file is loaded and ready for printing!
Setting your Z-Offset
If the offset on your printer is not calibrated correctly, it may be too low or too high. Z-Offset measures the distance between “On” and “Off” in your Z endstops for auto leveling, which is also the distance between the nozzle tip and the print bed. There is sometimes a tolerance to this because of the way that the endstop parts are manufactured. R1+ Plus 3D printers come standard with a Z-Offset of 0.9 mm.
To adjust your Z-Offset, under the Controls tab, scroll down and click one of the Macro buttons within MatterControl. Pressing the Macro button will save the offset to that value and you will not need to press it again unless you want to change your Z-Offset to a different value.
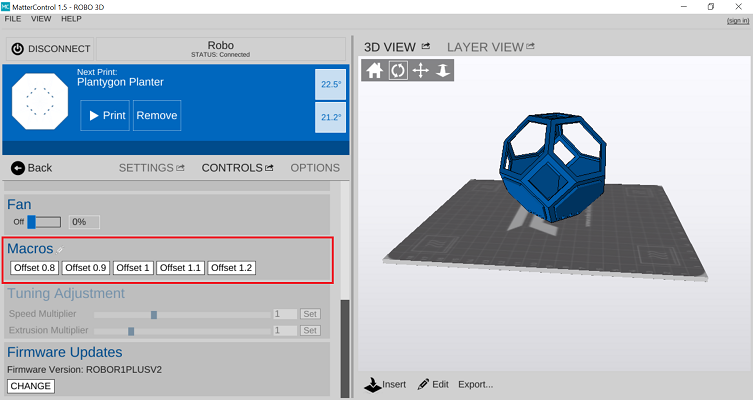
- Lower Z-Offsets are 0.8 and 0.9.
- Higher Z-Offsets are 1, 1.1 and 1.2.
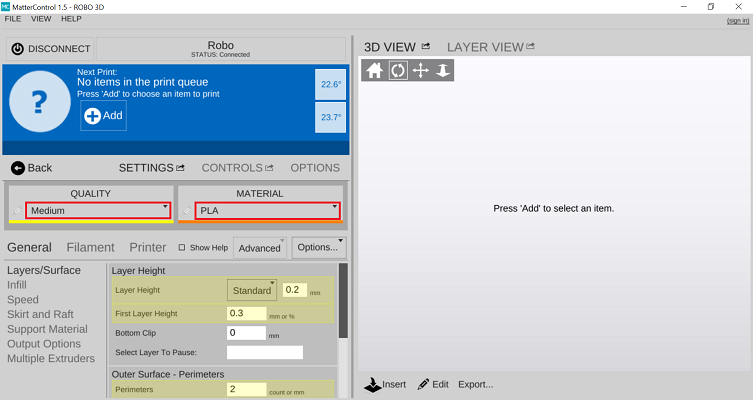
Slice Settings
After preheating your extruder and heated bed, double check that your slice settings are correct. Select your Quality and Material presets from the dropdown menus in the ‘Settings’ tab on the left hand window. In the frame below, you can switch between Basic, Standard, and Advanced slicing settings that will allow you to make a range of fine adjustments to how your print will be sliced.
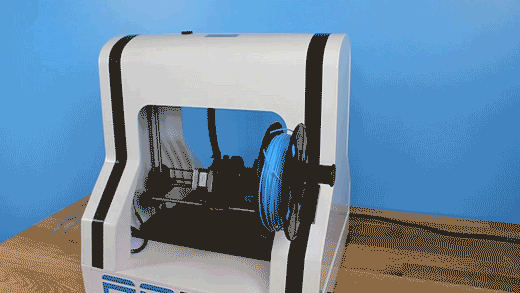
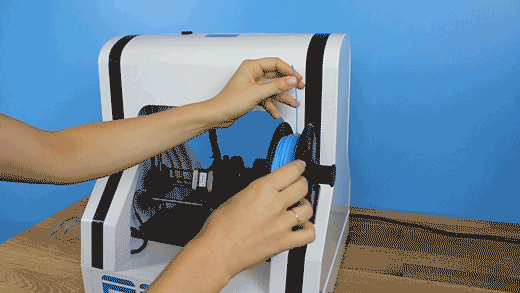
Loading filament
Begin by sliding the spool holder onto your printer. Make sure your hotend nozzle is preheated to the temperature of your material.
Be sure to unroll at least 11”— or 30 centimeters — of filament and cut the tip with a pair of scissors.
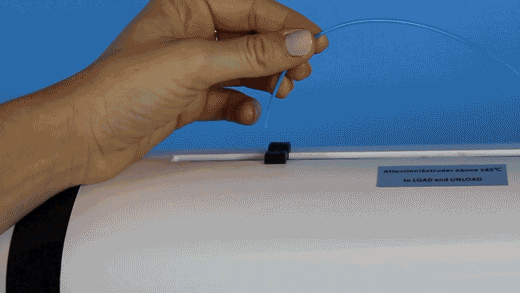
Now thread the filament through the filament latch at the top of the printer
Insert filament through the filament gear, you may need to pull back the filament capture to thread the filament into the extruder.
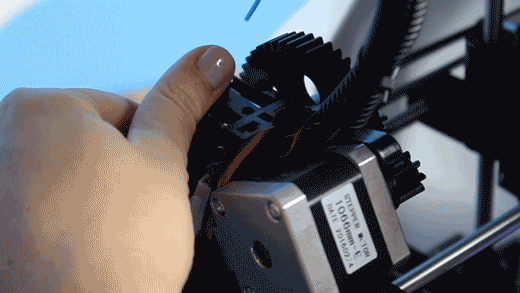
Once inserted, turn the filament gear until you see filament coming out of the extruder nozzle.
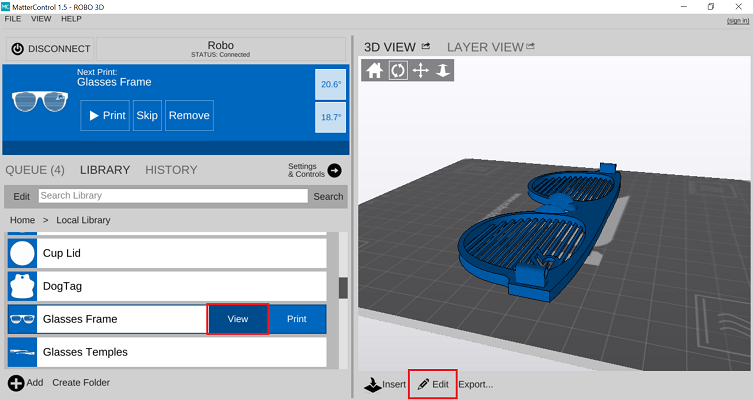
Check the build plate
Make sure that your part is oriented efficiently. To check this, click view next to your desired print to see a preview of your print. If you want to make any changes to the orientation of your part, click Edit on the Preview Screen to the right. From here you can Move, Rotate, Scale and more to ensure your print is oriented properly. Before you start your print, be sure to hit Save once you’re finished making changes.
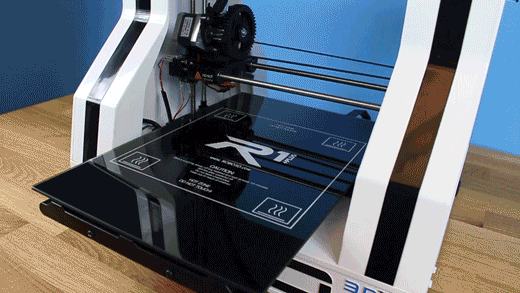
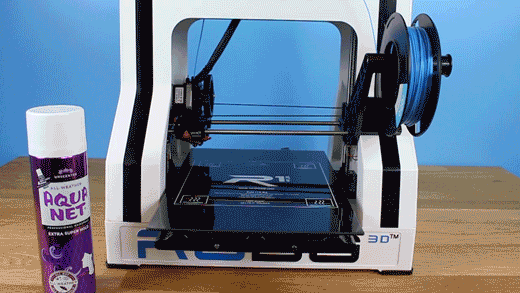
Print bed adhesion
In order for the plastic to stick to the glass of the build plate, you must use an adhesive. You can use a couple of different techniques for prepping your build plate. Two of the most commons methods we use here at Robo are to use a glue stick or hair spray.
Before applying either adhesive, move the heated bed all the way out towards the front of the printer.
- Glue stick (supplied with your tool kit):
Open the glue stick and apply a single layer perpendicularly to the printing surface of the build plate. Make sure no bumps are left on the build plate.
- Hair spray (AquaNet works very well):
When using hairspray you can either raise the extruder (using the motor controls on MatterControl), or cover the extruder and rods with a piece of paper or a shield as you spray to ensure no hairspray is applied to the linear rods. Ensure not spray any of the rods within the machine.
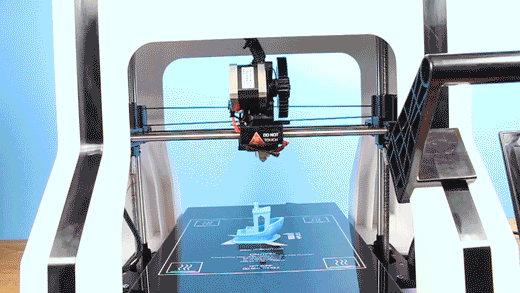
Start Printing
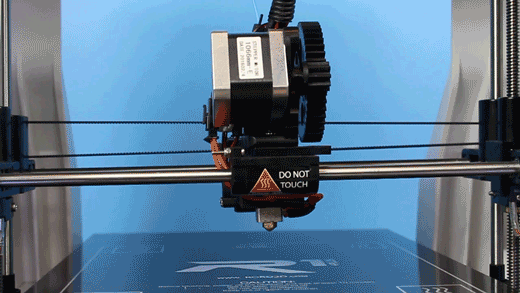
Now just click the Print button! You will notice that your part slices in the software before the print starts and the printer runs an auto leveling measurement sequence. From here let the printer do the rest of the work and watch your part grow!
Note
If you selected a Print from your Desktop or Laptop you’ll need to keep your Printer connected for the entirety of the print. If you Loaded it from the SD Card in the Printer, your computer does not need to stay connected for the print to finish.
Removing the print
When the print is complete and cooled down, use the provided spatula to carefully remove the print at its borders. Then, slowly work your way underneath the print until it’s loose. Don’t force the print loose by pulling it up directly up from the print bed, since this may cause your print to break.