Maintenance
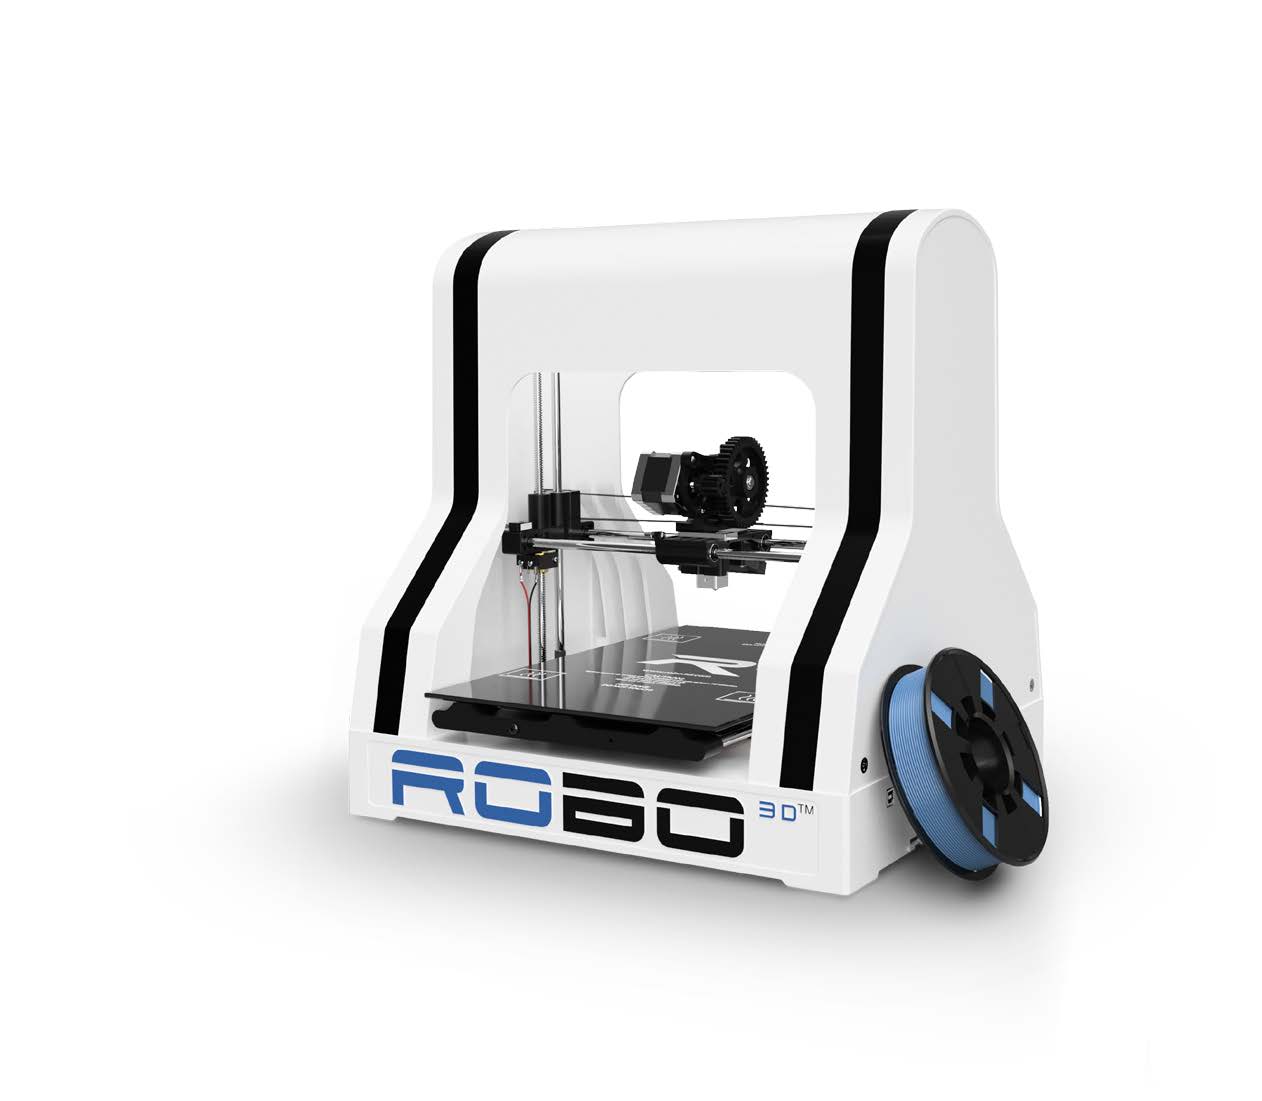
Remember, a well-maintained Robo R1+ Plus is a happy one!
Things to check before every print
- Be sure to check for the following before every print:
- Make sure the print bed is free of any/all objects
- Make sure nothing is blocking the extruder head from moving freely around the build area.
- Make sure no objects are above or below the print head that could prevent it from freely moving up and down or side to side.
- Make sure there are no broken pieces of filament within the extruder.
- Make sure all cords are neatly tucked away to avoid unnecessary accidents while the printer is in operation.
- Make sure all of your software is up to date.
And to ensure the best 3D printing experience now and in the future, use the following Robo R1+ Plus maintenance tips regularly (every 6-12 months, depending on use):
Cleaning the Hob Bolt (Filament Feeder Gear)
Steps to clean your feeder gear
- First, turn off your machine. Then, unscrew the tension screws on the filament thumb latch so it can lay down freely. Have a firm hold on the screw while you unscrew them because they are spring loaded.
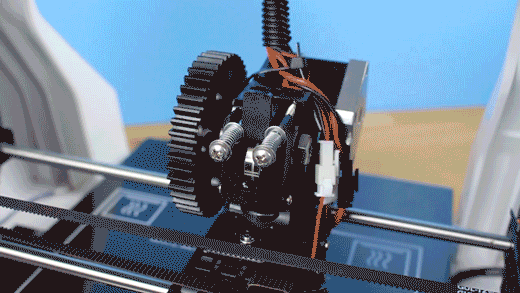
- Once it is off, you can either use a razor blade, or a wire brush to remove filament stuck in the gears’ teeth.
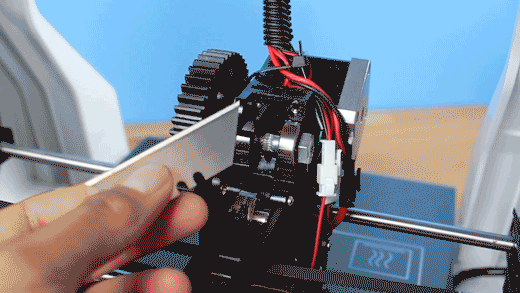
Or a wire brush.

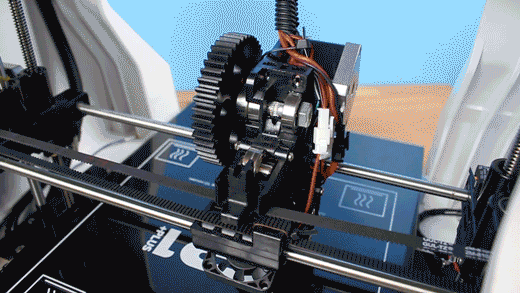
Rotate the feeder gear by turning the large gear by hand and repeat steps until the entire feeder gear is cleaned. Once done, place the filament thumb latch back up and replace the tension screws back into your extruder assembly.
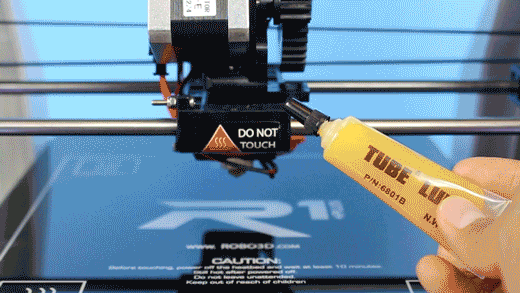
Lubricating the axis
Make sure you periodically lubricate all the rods including the two Z-Axis lead screws. This will ensure that your printer can move seamlessly. To do so, apply a small amount of the included lubricant on each of the rods. And slide the X and Y Axes across their entire range of motion to lubricate the rods.
Cleaning the print bed surface
The Robo R1+ Plus print bed surface is glass. Make sure to clean it with a isopropyl alcohol and a damp cloth to ensure your print bed is clean for the new layer of adhesive. This will ensure your prints will stick to its surface.
Z Axis Alignment
Visually Check that the Two Z Axis Rods are relatively even. An easy way to do this is to home the printer, then raise the Z Axis. From there you can use the end of the Heated Bed as a reference.